Animating Vectors
Animating Vectors
You may be familiar creating vector-based artwork in Adobe Illustrator, but those same works can be animated in Adobe After Effects like the video above. Think of your artwork like a puppet, consisting of joints and limbs. With tools like the Puppet Position Tool, Anchor Point Tool, and Rotation Tool, you can create some pretty advanced animations.
Use either of the .ZIP Asset Packages below, or create your own vector-based character to animate.
Steps
- Download the Green Lion Parts
- Unzip the folder into your External Hard Drive
- Import the files into a new After Effects project
- Use the whole reference image included in the files to piece together your character in a new composition
- Use the Anchor Point tool to determine the center of gravity for each object
- Keyframe your animations where they apply
- Render your project for Export > convert to .MP4 in Adobe Media Encoder
File Type:
Submit your After Effects vector animation as .MP4
Programs used:
Adobe After Effects
Adobe Illustrator
Loading Icons
This week we learned how to make loading icons. We were given creative freedom for the third one (the star) so i went a little nuts with new techniques I learned.
Programs used:
Adobe After Effects
Creating Shapes
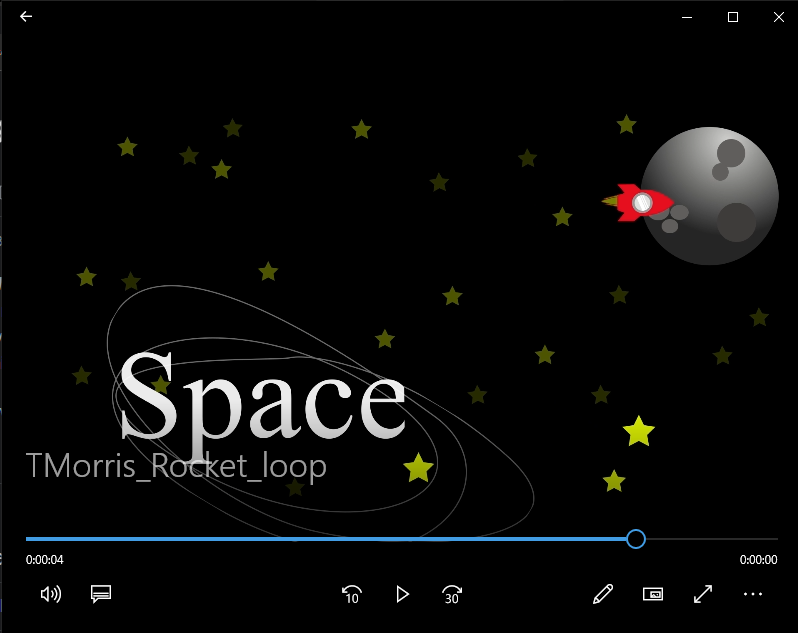
I had a lot of fun with this assignment. We only needed to create a few shapes, incorporate a mask and effect, but I wanted to try creating an environment.
Assignment:
- Open After Effects
- Create a new composition
- Make various Shape Layers in the Composition window (Basic and Complex shapes)
- Add Strokes to 1 or more shapes
- Use keyframes to add movement using the Position (P) controls for each Layer
- Use mask to hide and reveal a precomposed layer
- Add text in a precomposed layer
- Animate and mask text in precomp.
- Export your project using Media Encoder
Programs used:
Adobe Illustrator
Adobe After Effects
Introduction to Motion with After Effects
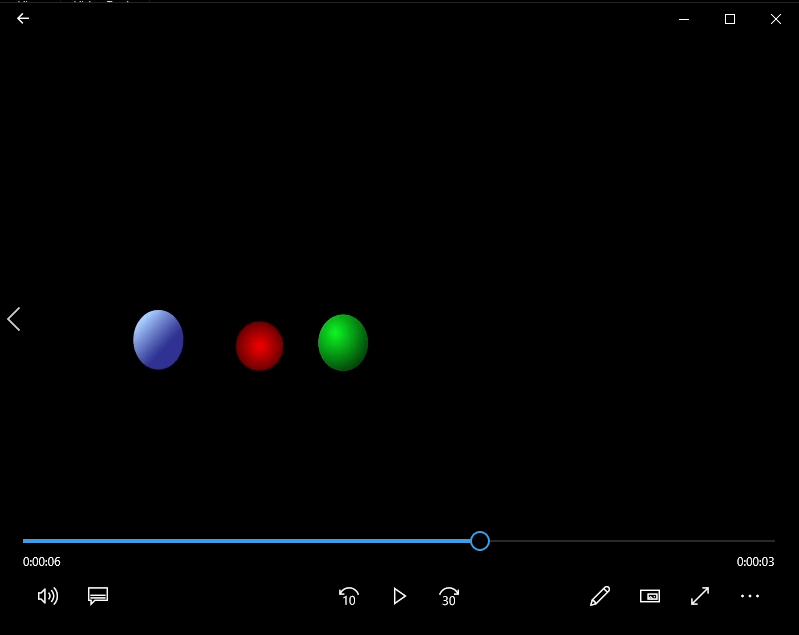
Our first assignment in Adobe After Effects. We were to create a basic bouncing ball animation using the principles of animation. Using completed illustrator files (the blue ball) I had to import and animate the movement of the layers using After Effects. The second bouncing ball (red) was created using shapes and keyframes within After Effects.
- Open your illustrator file of the bouncing balls
- In the layers panel (all of your shapes are likely contained within a single layer currently). Select the layer containing your shapes.
- Go to the hamburger menu in the upper righthand corner of the layer panel and select “Release to Layers (Sequence)”
- Your shapes are now all layers but they are still contained within the top parent layer. Holding shift select all but the parent layer.
- Drag the layers straight down to the open area at the bottom of the layers panel.
- All layers should now be independent. You can now delete the original layer, as it should no longer contain any information.
- Save
- Open After Effects
- Click to import .ai file into the project panel
- To import select the file in the “Import As:” box change to “Composition”. Check “Create Composition” and click “Open”
- In the Project panel double click to open the newly created composition.
- Trim each layer to single consecutive frames, it should look like stairs. (To do this use the shortcuts fn+uparrow and fn+downarrow to move frame by frame, option+[ to trim the selected layer to begin on your current frame, and option+] to trim the layer to end on your current frame.
- go to the last frame and hit n to set the work areas out point to that frame.
- Right click in the work area and select trim composition to work area. Your video should now fill the timeline.
- Create a new composition at 1920×1080 24fps, and name it Ball_2.
- Drag your original bouncing balls composition from the project panel into your new composition.
Pt2.
Next to the original ball;
1. Create a new ball using the shape tool
2. Fill with a gradient
3. Under the “Transform: Ellipse” properties, keyframe the balls position and scale at the different important pose points (you’ll need to unlock the link between the height and width of the scale).
4. Go to the last frame of your animations and click n to trim the work area to your current frame
5. Right click in the work area and select trim composition to work area. Your video should now fill the timeline.
6. Create a new 10 second composition at 1920×1080 24fps, and name it bounce_loop.
7. Drag the Ball_2 composition from your project panel into your new composition
8. Right click on your precomposed layer and choose Time>Enable Time Remapping
9. Option click on the stopwatch in the Time Remapping property to enable expressions
10. Under the expression click the icon that looks like a circle with a play button in it, choose Property>loopOutDuration(type = “cycle”, duration = 0)
11. Drag your precomposed layer out until it fills your entire 10 second timeline. Your video should now loop for 10 seconds.
12. Export as mp4 using media encoder.
Programs used:
Adobe Illustrator
Adobe After Effects